To create a Declaration, click on the “View all” link in the “Total declarations” card on the Organisation Dashboard. From the resulting page, click on the “Create” button.
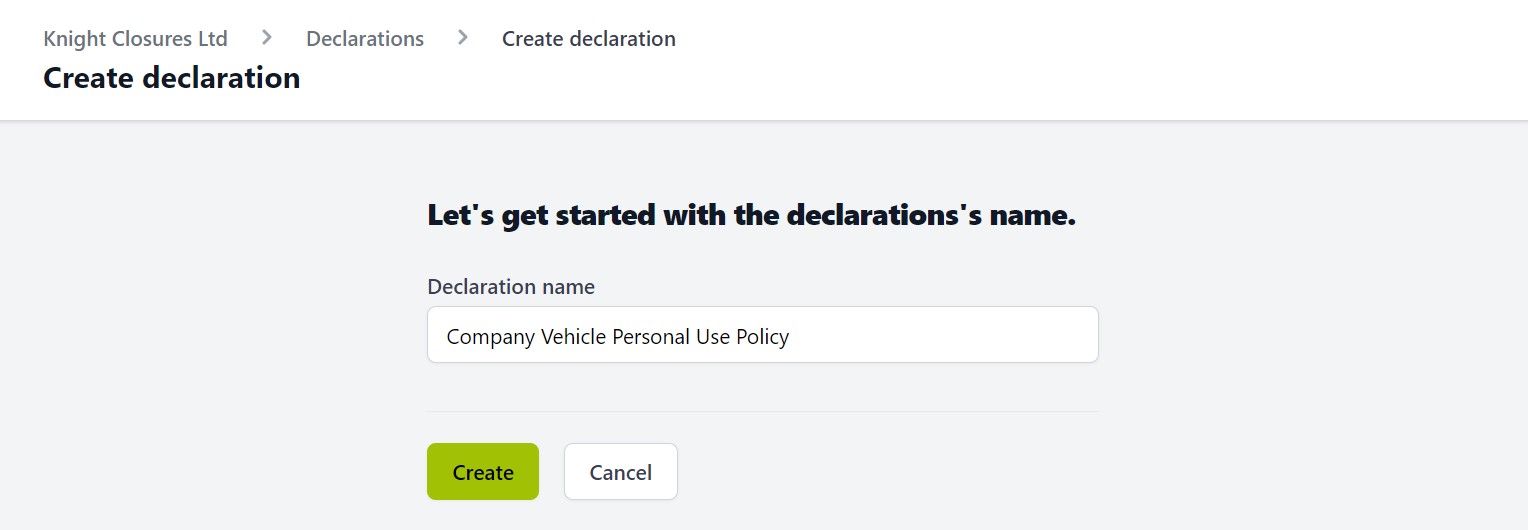
Give your Declaration a name: Note this is the name seen in the Declarations dashboard and the name of the Declaration as viewed by the recipients. Click the next “Create” button to create your new Declaration and be taken to the “Manage declaration” page.
Details section is where you can update the Declaration name, select the Declaration State and set a Renewal period if applicable.
Declarations have the following states:
- Draft – used while you are working on your Declaration. Not available to your users.
- Published – used when you’re ready to start assigning the Declaration to your users.
- Archive – used when a Declaration is no longer required. Stops any further assignments and renewals are no longer sent.
While you are working on a Declaration, it is best to leave it in the Draft state. When you have finished setting the Declaration up and are ready to start assigning to your users, then you can return to the Manage declaration page and Publish.
If the Declaration is a one-off requirement, simply leave the “Declaration has a renewal period?” checkbox unchecked. If the Declaration should have a renewal period then check this option and add the number of months for the renewal period.
“Update” to save any changes to these settings.
Contents is where you add the Declaration content. You can enter the details directly into the editor, or copy/paste from another document. Remember to “Update” to save your changes.
If there are no files to be attached to this Declaration ,then you are ready to Publish.
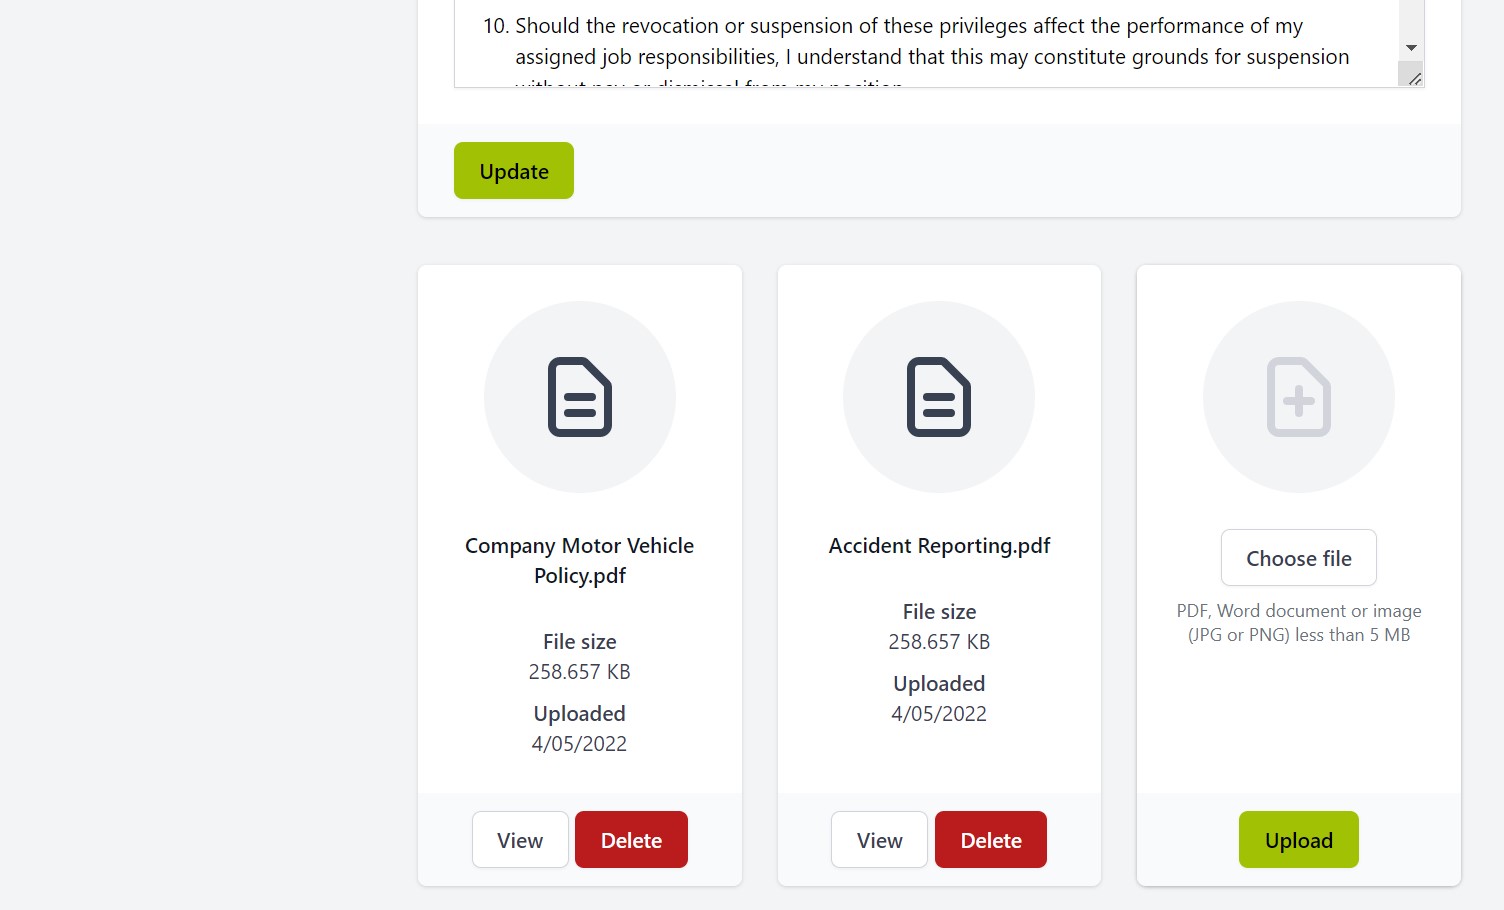
If you have policy documents that should be included, add those below the Declaration content - you can have a maximum of three attachments per Declaration. Links to these documents are provided to the recipient when they are completing the Declaration. This allows them to review the referenced documents before finalizing their response.
Delete provides a way to completely remove the Declaration from the system. If you already have responses to a Declaration then it’s best to Archive that Declaration to maintain the history. Deleting a Declaration will remove the Declaration and all associated responses.
If you want to make change to a Declaration at any time, simply go to the specific Declaration Dashboard and click on the “Manage” button.

